How to Debug Jobs
- Quick Start
- Docker Images and Job Examples
- How to Manage Data
- How to Debug Jobs (this document)
- Advanced Jobs
- Use Marketplace
- Use VSCode Extension
- Use Jupyter Notebook Extension
This document describes how to use SSH and TensorBoard plugin to debug job.
Note: These two plugins only work when the IP address is accessible from customer environment (not cluster internal IP). So if PAI deployed in some cloud environment such as Azure, these two plugins will not work.
How to use SSH
OpenPAI provides SSH plugin for you to connect to job containers. To use SSH, you can either create an SSH key pair, or use your own pre-generated keys.
Option 1. Create an SSH Key Pair
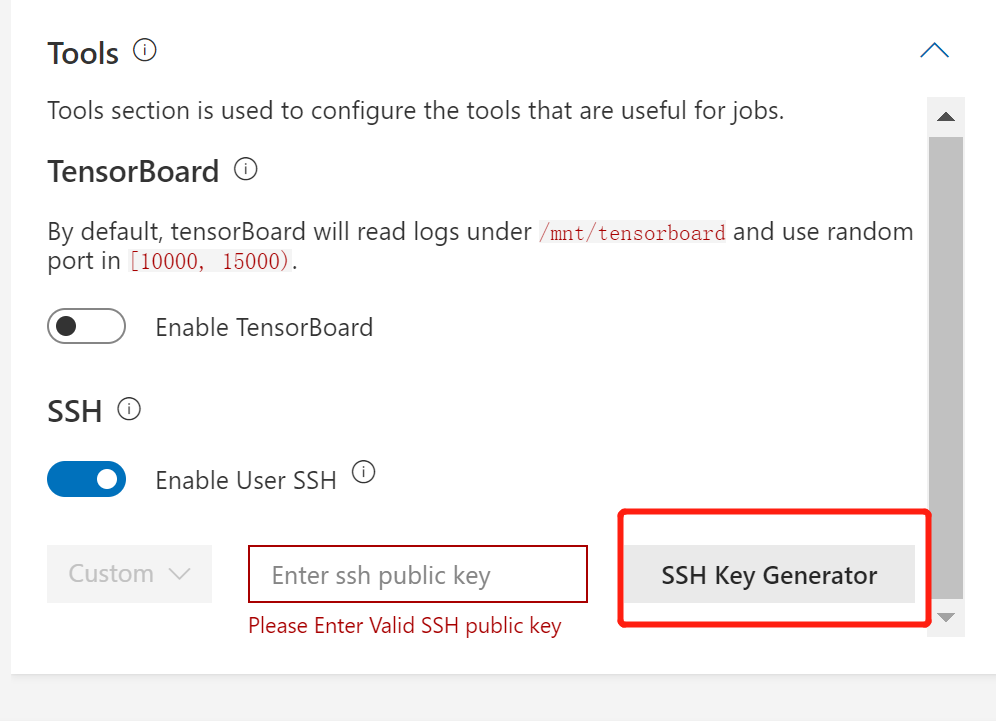
It is feasible to create a new SSH key pair when you submit the job. First, open the Tools panel, enable the SSH plugin, then click SSH Key Generator:
The generator will generate one public key and one private key for you. Please download SSH private key, then click Use Public Key button to use this key pair in your job.
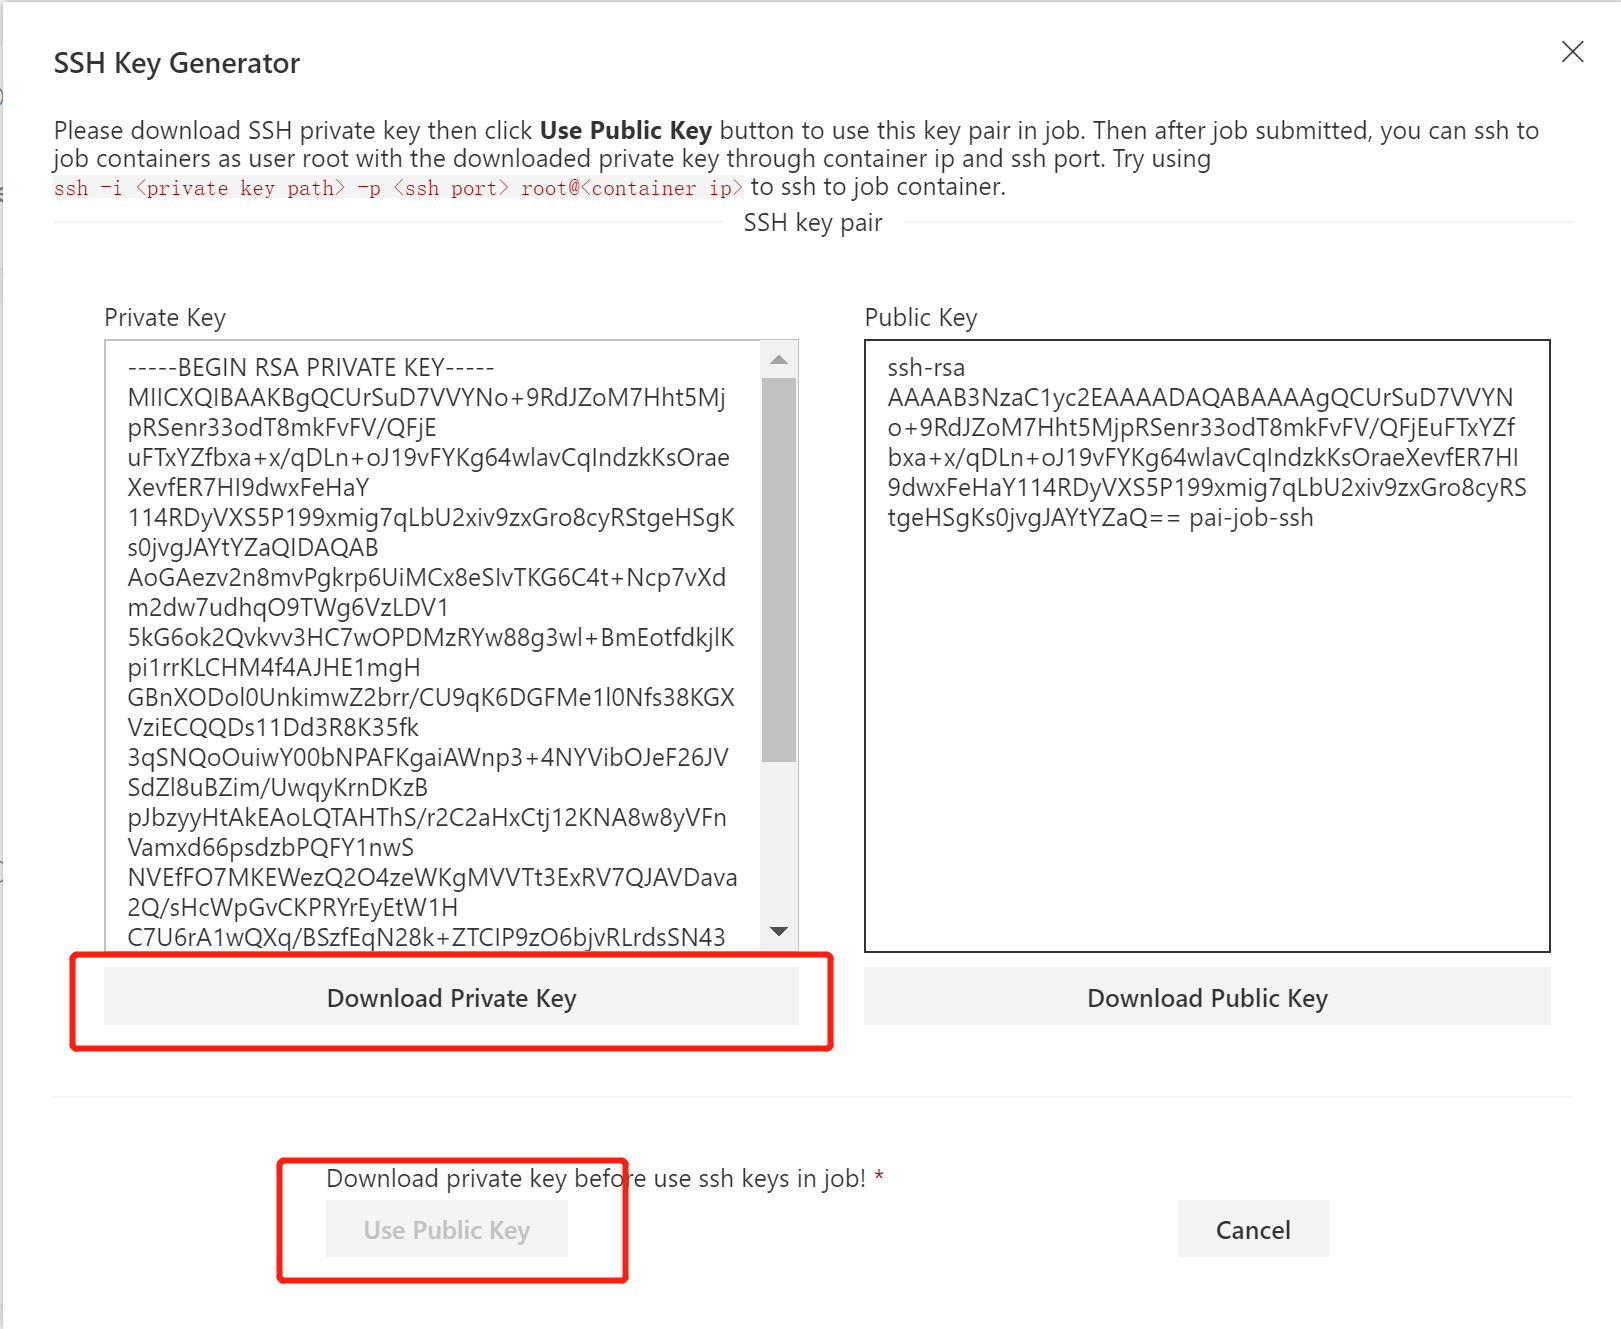
After job submission, you can ssh to job containers as user root with the downloaded private key through container ip and ssh port. The View SSH Info button will give you the corresponding command:

To be detailed, you should refer to the Use a pre-downloaded SSH private key section. If you are using Windows, the following command is for you:
ssh -p <ssh-port> -i <your-private-key-file-path> root@<container-ip>
On a Unix-like system, the command is:
chmod 400 <your-private-key-file-path> && ssh -p <ssh-port> -i <your-private-key-file-path> <container-ip>
Option 2. Use your Own Keys
If you are familiar with SSH key authentication, you would probably have generated a public key and a private key already, in the folder C:\Users\<your-user-name>\.ssh (it is ~/.ssh/ on a Unix-like system). There is an id_rsa.pub file and an id_rsa file in such folder, which are the public key and the private key, respectively.
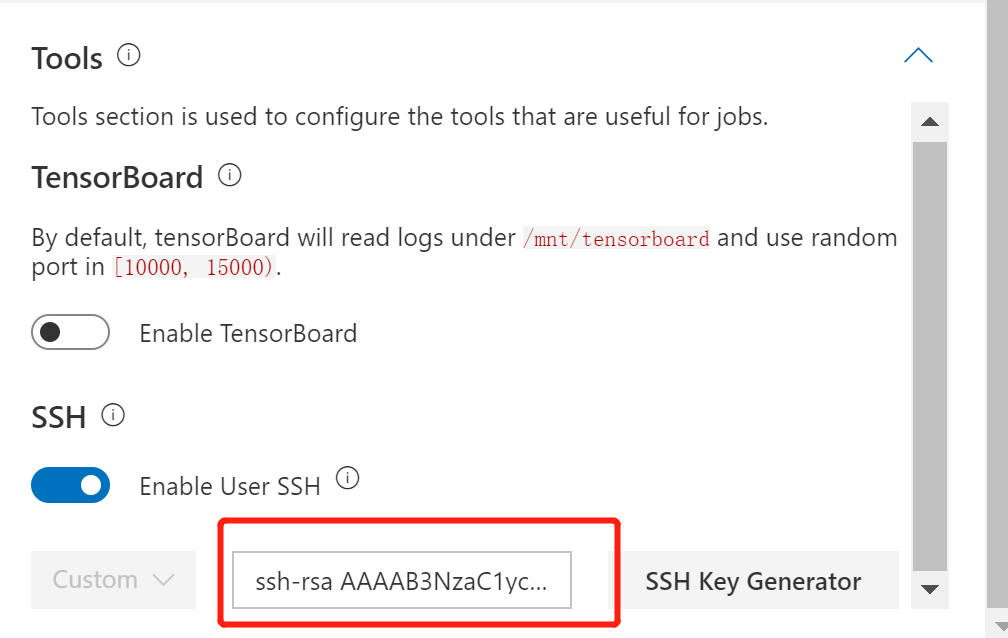
To use them, open the id_rsa.pub and copy its content to the SSH plugin, then submit the job. Do not use the key generator.
After submission, you can use ssh -p <ssh-port> root@<container-ip> to connect to the job container, directly.
How to use TensorBoard Plugin
TensorBoard is a suite of web applications for inspecting and understanding your TensorFlow runs and graphs.
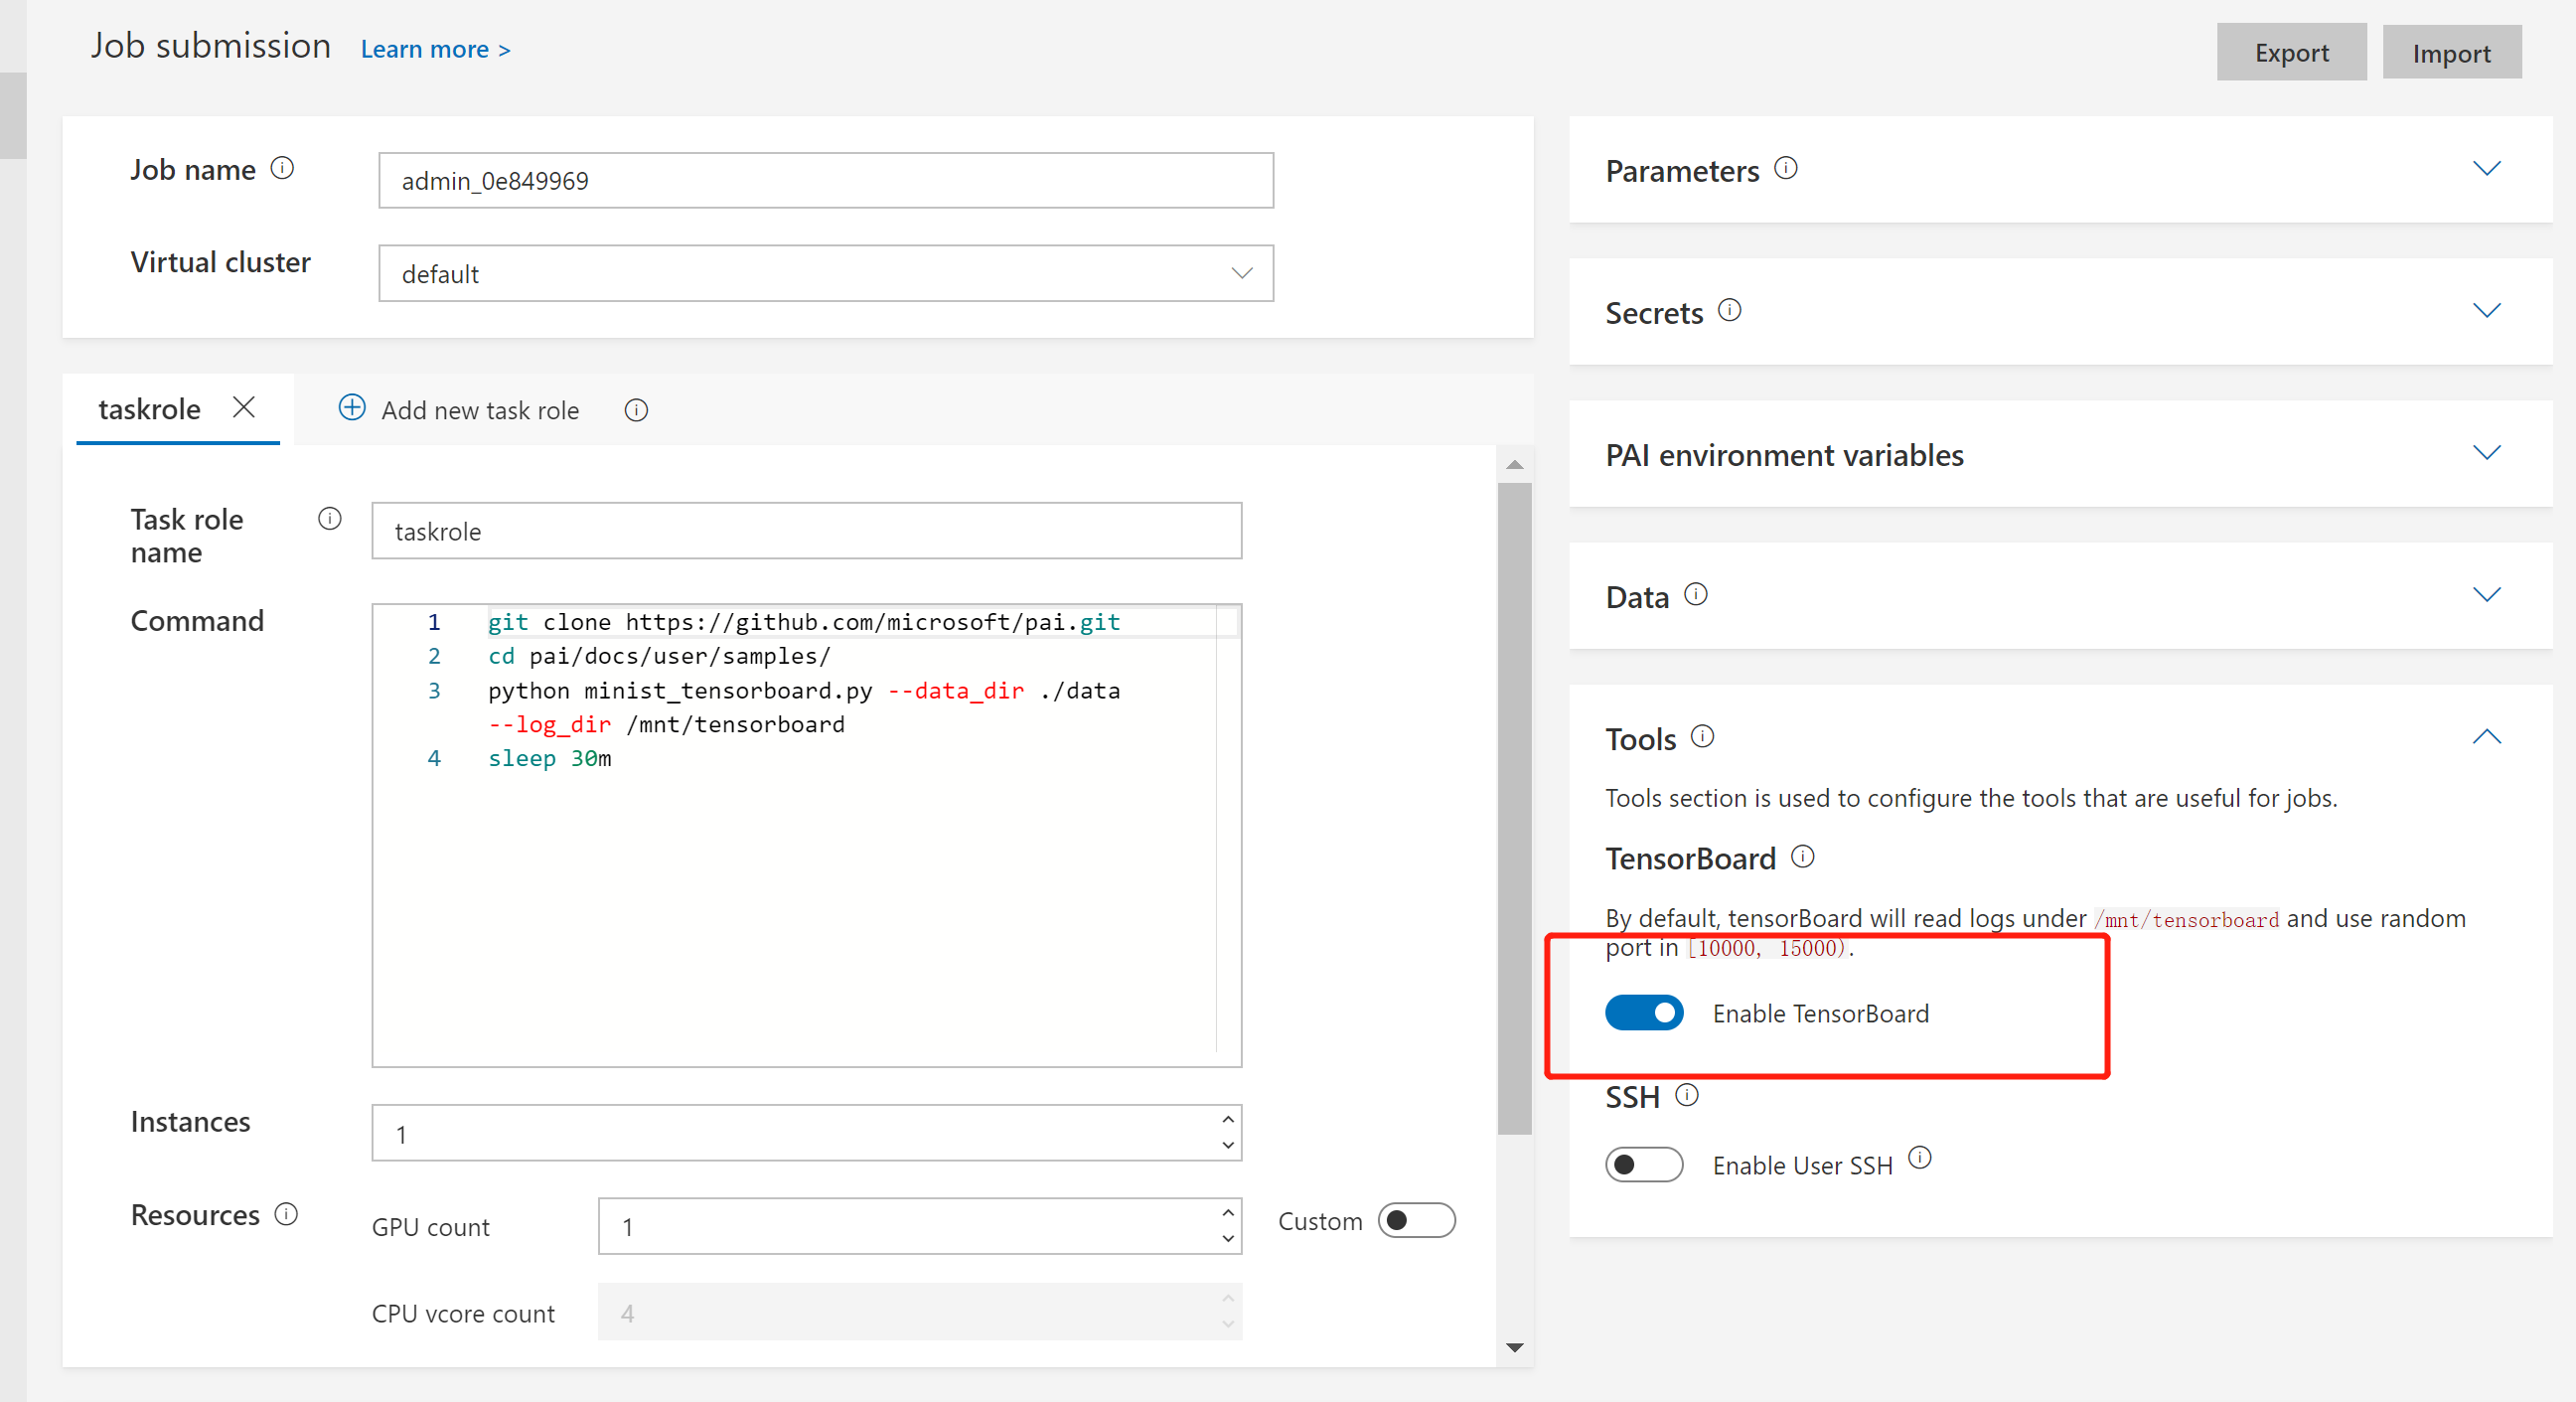
Here we leverage an example to show you how to use TensorBoard in OpenPAI. First, open the job submission page, input the following commands in the Command box:
git clone https://github.com/microsoft/pai.git
cd pai/docs/user/samples/
python minist_tensorboard.py --data_dir ./data --log_dir /mnt/tensorboard
sleep 30m
Then, please select TensorFlow 1.15.0 + Python 3.6 with GPU, CUDA 10.0 as your docker image. Last but not least, toggle the Enable TensorBoard button in the Tools section.
After submission, you will see a Go to TensorBoard Page button on the job detail page.
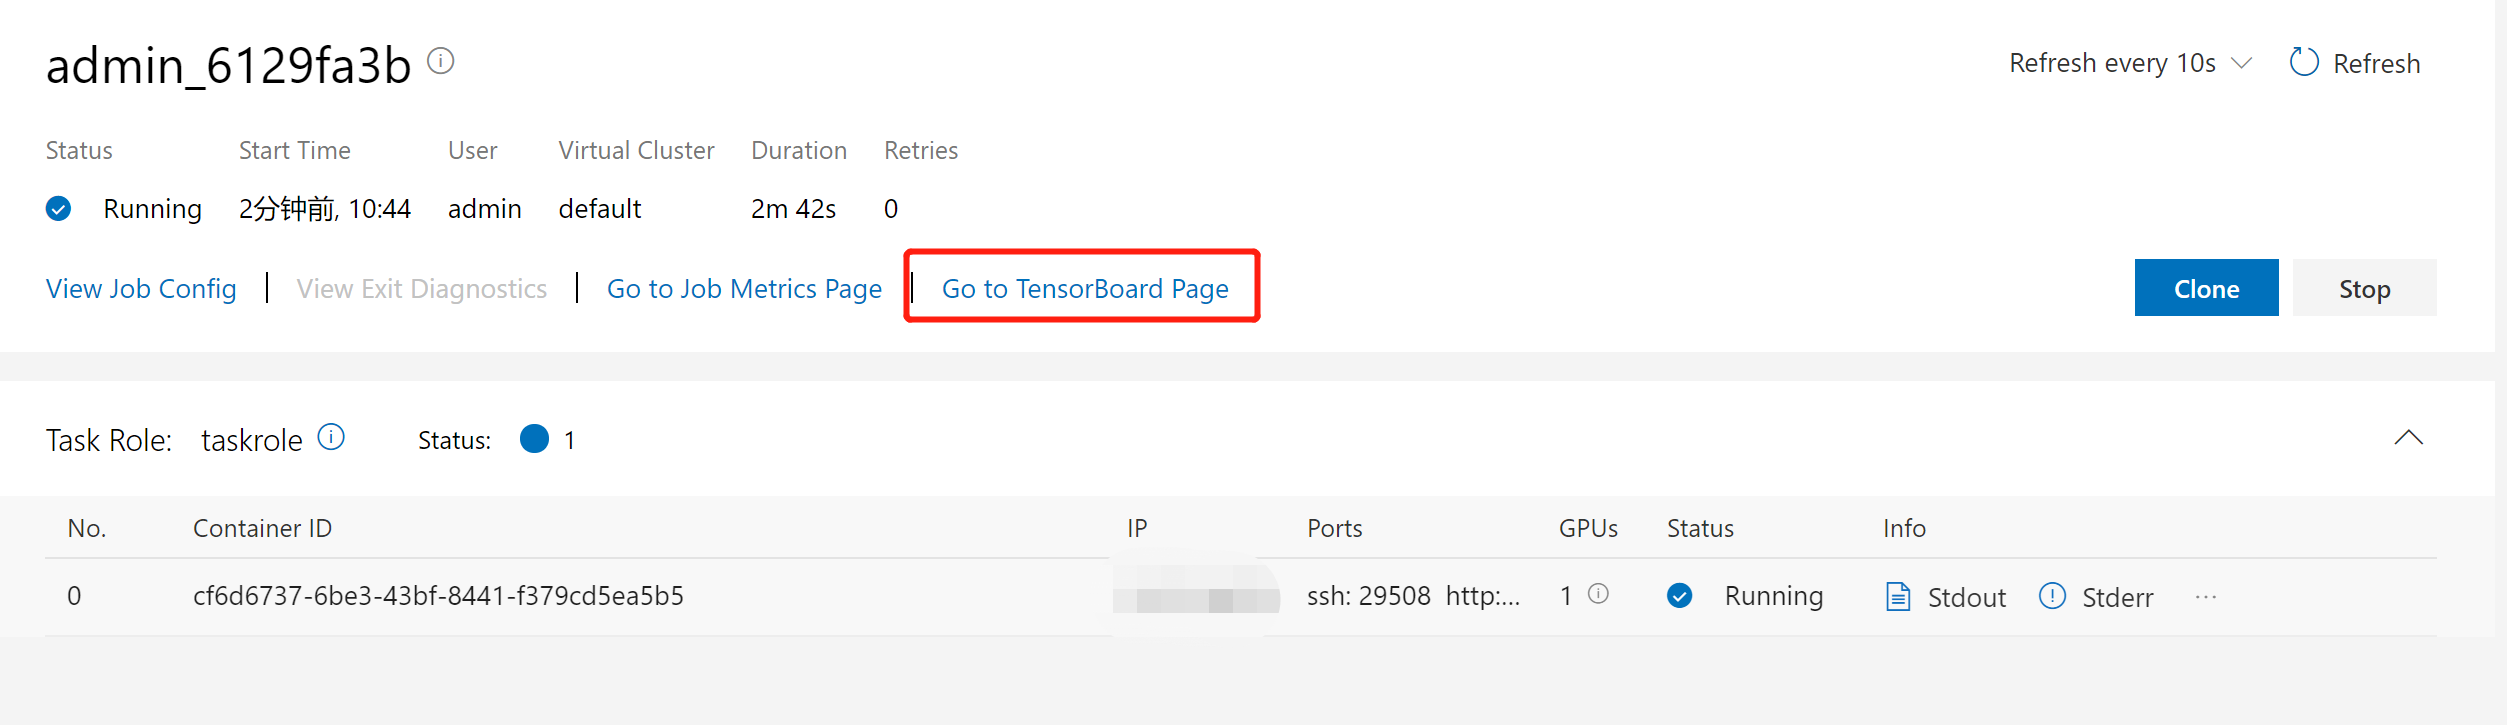
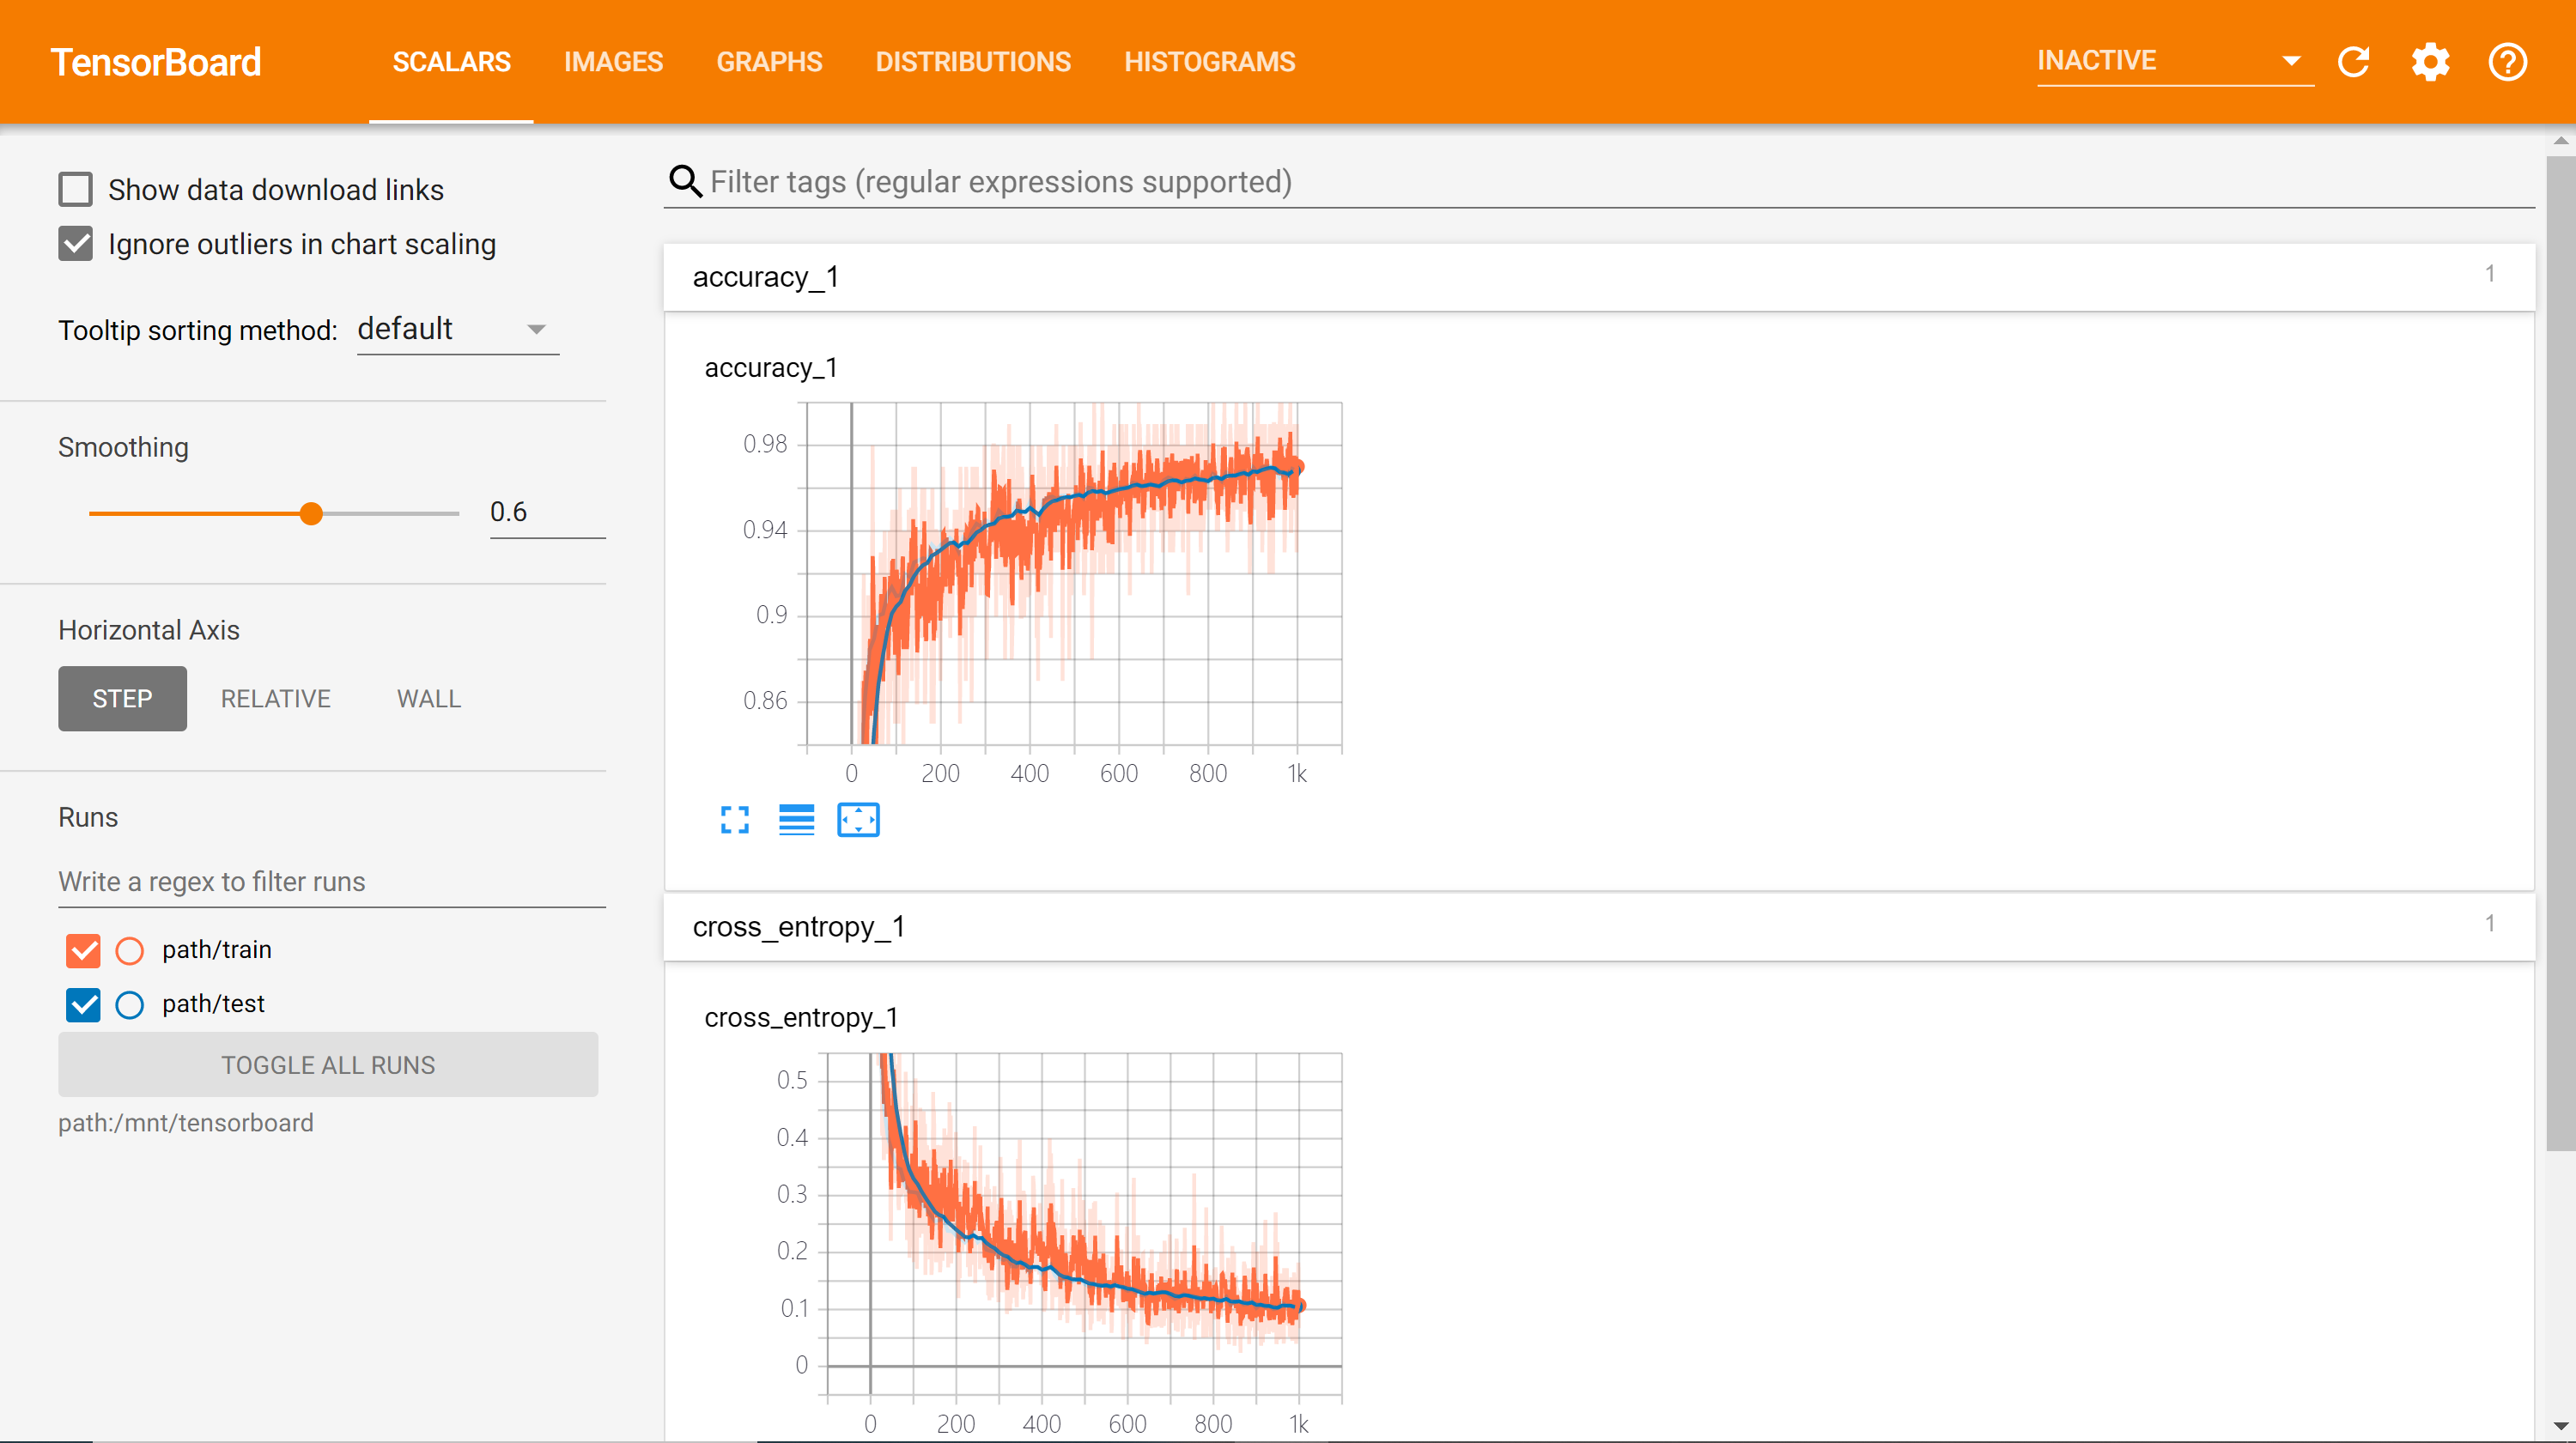
The button will bring you to the TensorBoard page. You might wait a few minutes until the log is ready:
Generally speaking, to use the TensorBoard plugin, you should:
- Save your TensorFlow summary logs to
/mnt/tensorboard - Make sure
tensorboardis installed in the docker image you use. - Use the
sleepcommand to extend the job lifetime, if you want TensorBoard available after job completes.